

Making a Scissor Case Belt: Why We Go the Extra Mile and the Process
It's been a while, but here's the continuation of our previous belt making series.
Click here for the previous article ↓
Making a belt for a scissor case.
Last time, we showed you how we cut the belt from a large cowhide.
This time, we will explain the finishing process.
Is it surprisingly difficult? Making a belt for a scissor case
A belt is not just an "accessory."
That's why we are particular about careful and precise tailoring.
1. Belt leather after cutting
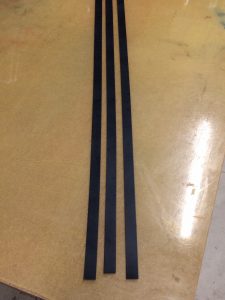
2. Shaping the cut edge into a curve
We smooth out the sharp corners into a gentle curve.
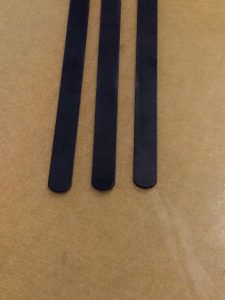
3. Before smoothing the cross-section
It's hard to see at first glance, but the cross-section still has roughness.
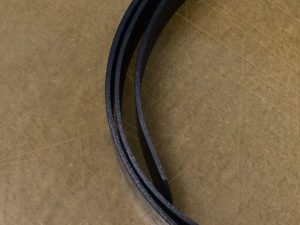
4. Sanding the cross-section to round it off
Sanding the cross-section helps create a smoother shape.
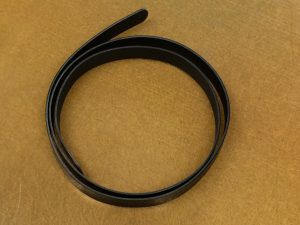
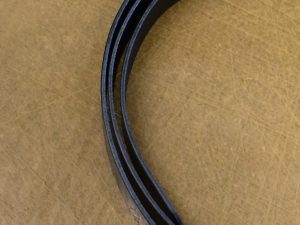
5. "Edge beveling" to smooth the cross-section
After sanding, we use a specialized edge beveling tool to shave off any burrs (corners).
This process is known as "edge beveling" in technical terms.
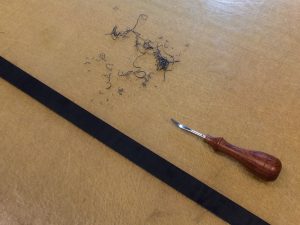
6. Applying chemicals and polishing carefully
Finally, we apply a chemical and polish the cross-section (cobs).
Well-polished leather cobs will develop a beautiful luster.
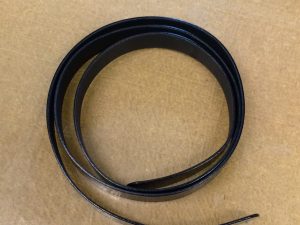
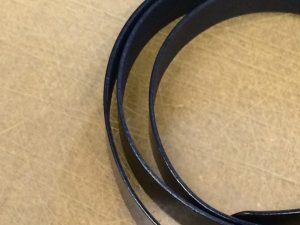
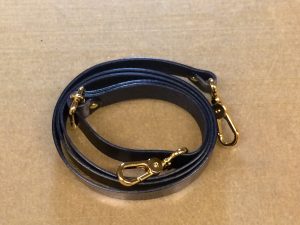
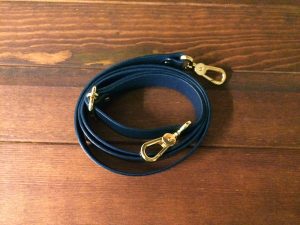
7. Belt completed
The completed belt has a smooth cross-section and is comfortable to wear, which has been well-received.
Reasons for not sparing effort in tailoring
We prioritize quality over efficiency.
That is the philosophy behind BLINK SCISSORS CASE's craftsmanship.
Not sparing time and effort makes a difference in the finish.
Believing this, we meticulously and wholeheartedly craft each item.
Thank you for reading to the end, even with many images this time.
BLINK SCISSORS CASE
Tanaka